
Photo by: Paige Andre Photography

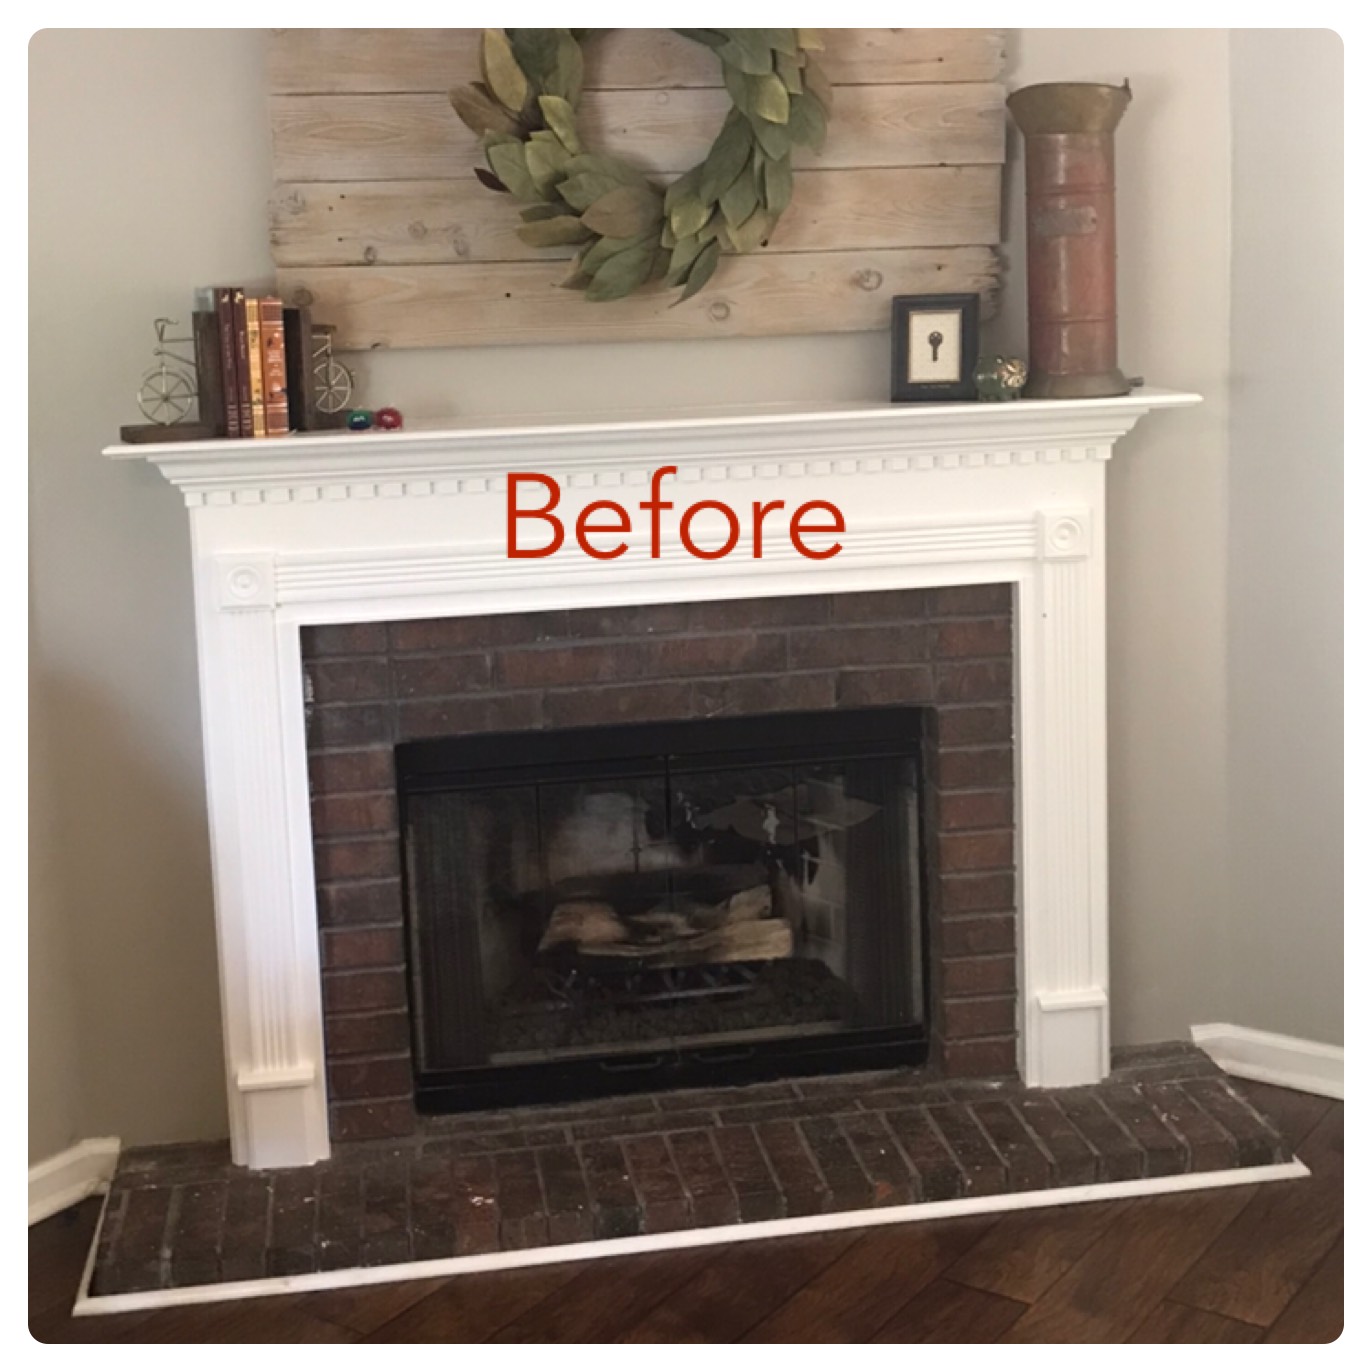
We recently moved into a new home and are slowly making it our own. The home had a very traditional and basic fireplace that I wanted to update without spending a fortune. The brick had some white paint splatter marks from a previous owner, so I started by painting the brick dark gray.

As you can see, painting the brick did not make a huge difference alone, as the brick was already dark naturally. In fact, the rest of the family didn't even notice the change for 3 days. I live with a bunch of boys. One I married and three I birthed. I'm hoping our baby girl will one day share my excitement for home design and renovations!

With the brick cleaned up and painted, I was ready to update the mantle and upper section.
I was inspired by these fireplaces:


My dear ole Dad came to visit for Thanksgiving and was kind enough to help with this part of the project. I borrowed a miter saw, nail gun, and compressor from a friend, which made the project go quickly. Having the right tools (or borrowing the right tools) makes SUCH a difference in DIY projects.
I have some experience in building a mantle, as we completed a similar project in a previous home. This was a very simple NO DEMO process of building a C-shape wood cover to wrap the existing mantle. We used 1x6 and 1x8 white wood to build the new mantle. Before installation, we stained it with a custom combo of Minwax Classic Gray and Jacobean.

In adding the board and batten above, we marked and measured the wall with tape for the appropriate spacing. Our space was 60" across, so we did 15" spacing for 5 battens using 1x3 white wood.


Side note, my most valuable DIY tools are:
1) Dear ole Dad
2) A little Vino
Next, we caulked and painted the wall and battens. It took 3 coats of paint using Extra White SW7006 Semi-gloss.

I considered adding hardwired sconces, but the expense of an electrician would have put me over budget. So, I opted for some wall candle sconces with remote control candles instead.


The round mirror with an antique brass finish was found at Home Goods. This may not be a regular item they sell, so a similar one can be found here. It was important the diameter was just the right size for the mirror to look proportionate to the space. I love the look of mixed metals, so the sconces are intentionally a different finish to create a collected look.
Since completion, I have switched up the mantle decor a few times. This look is my favorite so far, using a few books, glass vases (which we already owned), and simple greenery clippings from the yard to create an easy, serene look.
Just like all areas of my life, I'm trying to keep it simple!!


In total, the cost of materials for this project was less than $100 - lumber, paint, stain, glue, caulk, and nails. The mirror, sconces and candles were an additional $150. Overall, this project had a big impact for our home in just two day and $250.
Now, its time to snuggle up by the fire....


No comments:
Post a Comment