Many of us have a room (or rooms) in our home that just needs a little love. Luckily, if you're on a budget, several small changes can have a big impact.
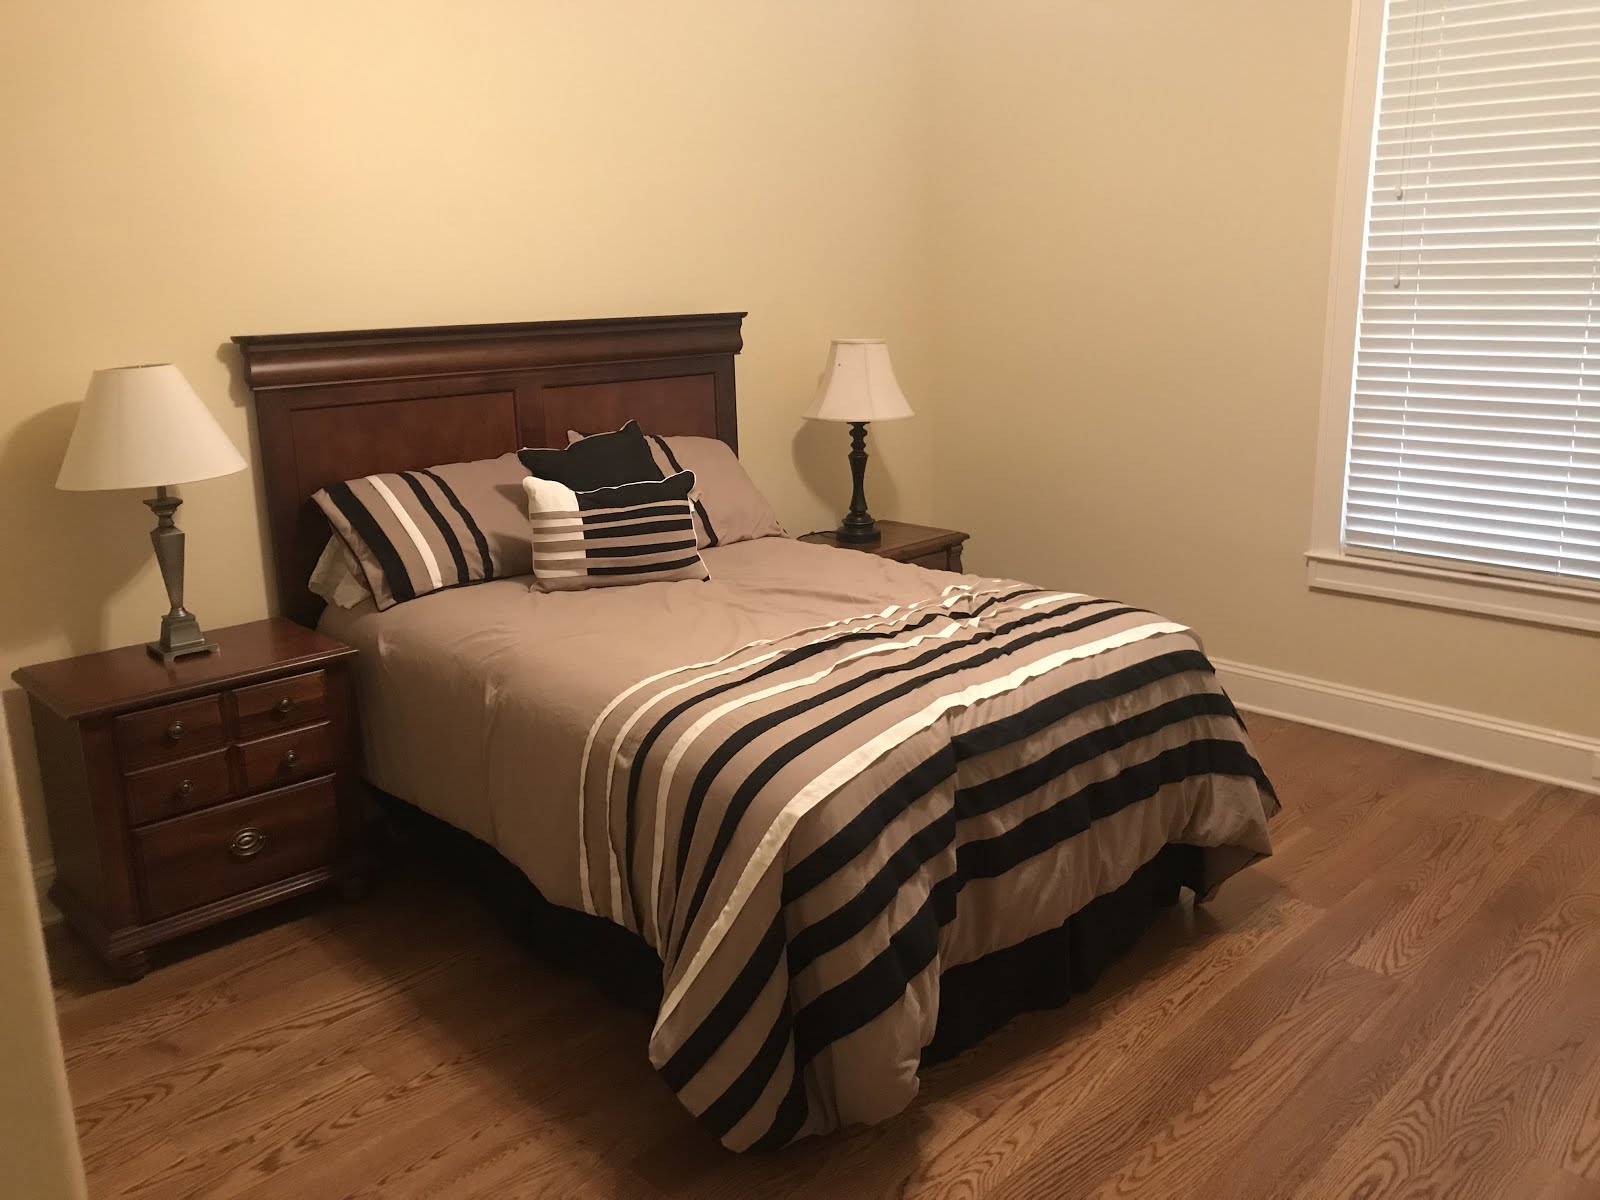
This guest room just needed some fresh bedding, accessories, and a little TLC.
We did not purchase new bedroom furniture.
We did not paint the walls.
We did not change the flooring.
This guest room just needed some fresh bedding, accessories, and a little TLC.
We did not purchase new bedroom furniture.
We did not paint the walls.
We did not change the flooring.
Keep reading for all the details about each of the small changes made...
This client recently moved to a larger home and spent nearly every moment of her free-time selecting new furniture for the entire house. To complicate things, she did this in addition to working full-time and raising two children. She has excellent taste and the main areas of the home turned out to be very beautiful and quite cozy. However, by the time she got to the guest room, she was burned-out and done making decisions. Folks... I. Am. Here. For. This. I'm so honored that she hired me to take the reins!
AFTER:

AFTER:

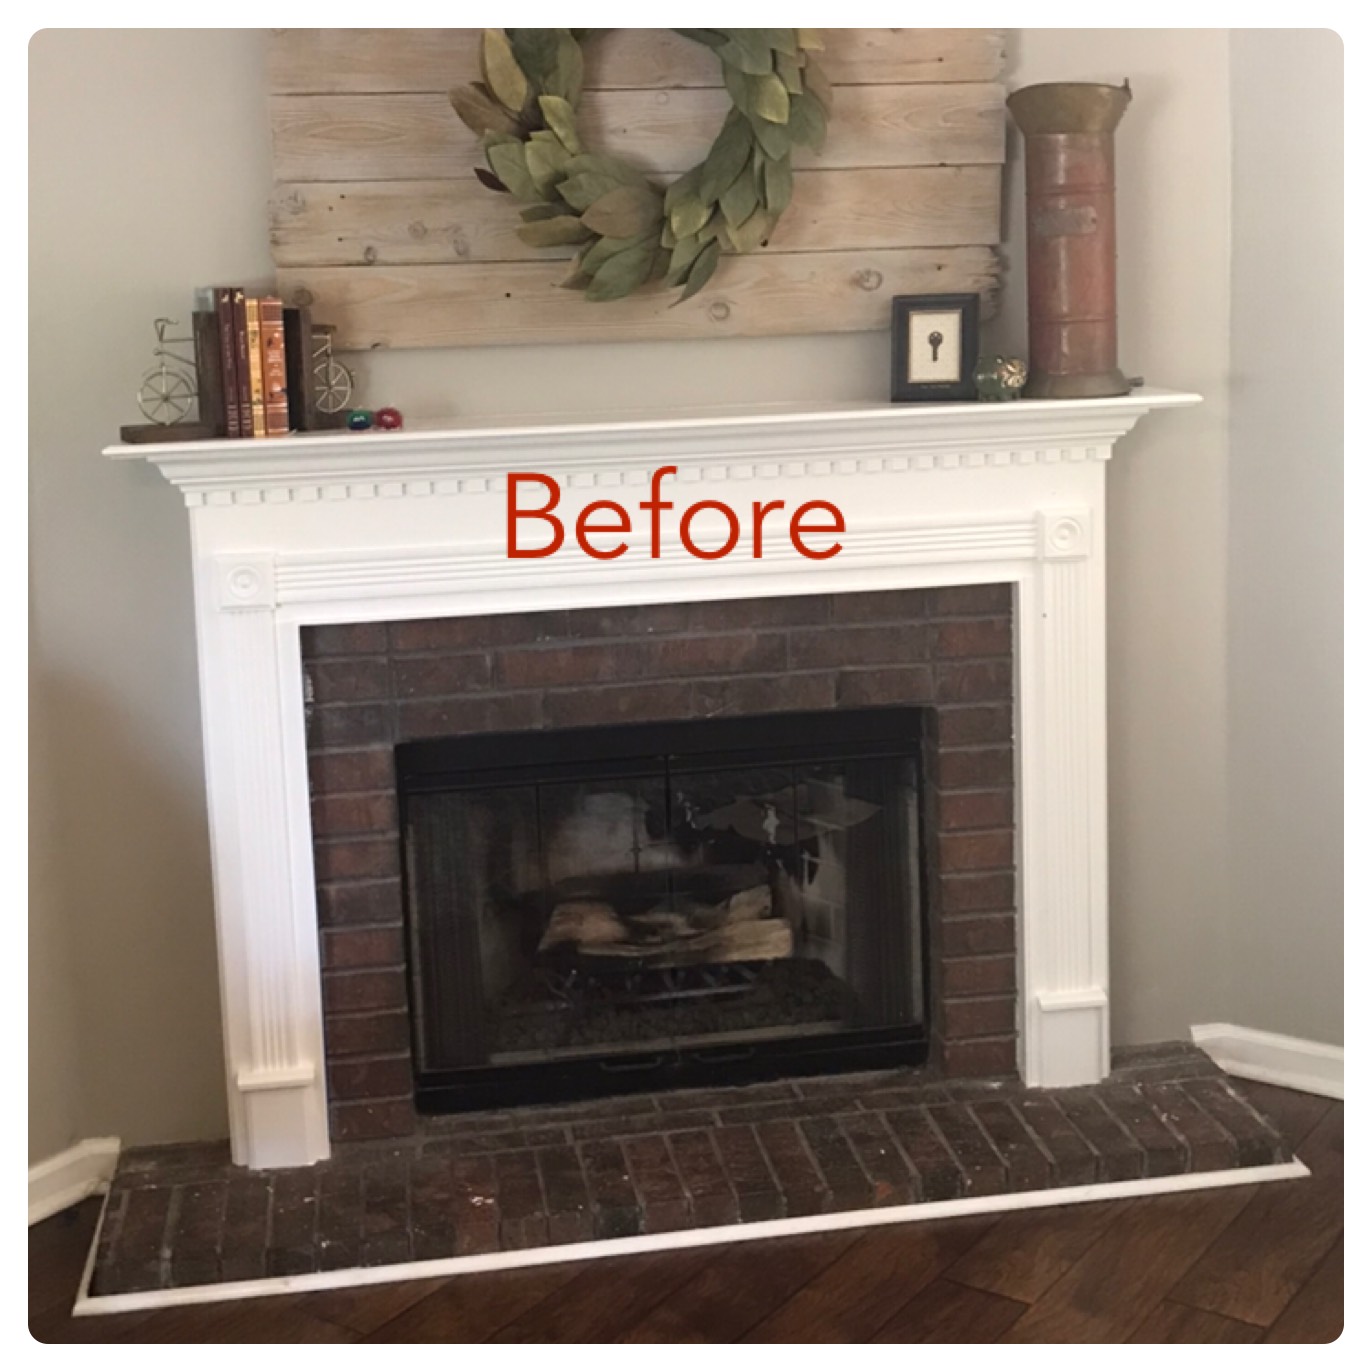
BEFORE:


AFTER:

BEFORE:

This family has many out-of-town family and friends, so a comfortable guest room was high on their priority list.


The existing bedroom furniture was purchased by the husband when he was a bachelor. But, just because something is a little old, doesn't mean it has to be replaced. The furniture was in good shape so my client saved some money by painting the bedroom furniture with chalk paint. And voila... with just a little sweat, the furniture looks fresh and brand-new.


Oversized art gives the room a pop of color. Mirrors mounted behind the bedside tables reflect light and add height around the headboard.
The room is stocked with the necessities to make any guest feel like a VIP:
- Water, bottled or carafe
- Local treats
- Framed WIFI password (several free printables can be found online)
- Tray with bathroom towels & soap
- Local magazines
- Plush, layered bedding
- Side chair & throw blanket
- Room Darkening curtains


Dinstuhl's is a Memphis favorite, making fine candies since 1902. YUM!


This room is now ready for guests!
Sourcing Information:
Home Goods: comforter set, throw pillows, oversized art, candle, mirrors, notebook, wood bowl, succulents, throw blanket, porcelain garden stool (side table)
Tuesday Morning: quilt
Target.com: rug
Hobby Lobby: lamps, tray with metal handles
Marshalls: side chair
Ikea: curtains, rod, rings
Message me if you have a question about a specific item. I'm happy to share!
Photo Credit: Paige Andre Photography
Photo Credit: Paige Andre Photography


 T
T


